Have you ever noticed that long, unbroken passages of text can be off-putting? That’s why one-sentence paragraphs and listicles are everywhere on the internet these days.
And while you can’t write a whole dissertation in list form – not until ‘Buzzfeed Studies’ becomes a part of journalism degrees, anyway – you can use bullet points and lists in academic writing, such as when giving examples or summarising the steps in a process.
It’s also remarkably easy to use bullet points and numbered lists in Microsoft Word, as we shall now demonstrate.
Bullet Points
To add bullet points to a Word document, all you need to do is:
- Select where you want the list to begin
- Go to the ‘Paragraph’ section of the ‘Home’ tab
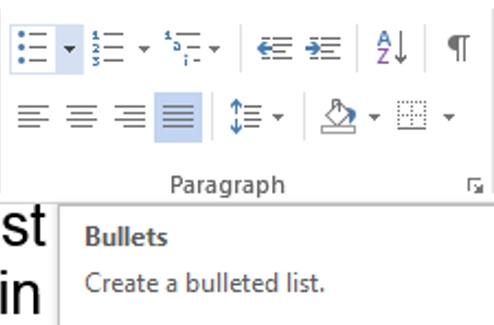
- Click on the ‘Bullets’ symbol (use the little arrow to select the style of bullet point)
- Type the first entry in your list, hitting return to start a new bullet each time

To stop creating new bullet points, hit return twice after the final entry.
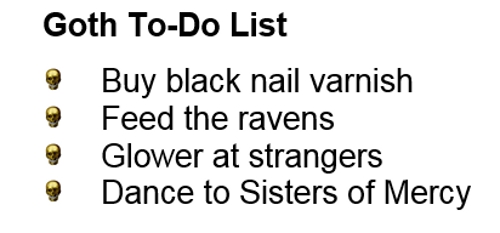
You can even customise bullet points by clicking ‘Define New Bullet’ in the dropdown menu. This lets you pick a symbol or image to use as bullet points. Generally, however, using tiny skulls or pictures of your own face as bullet points is discouraged in formal writing.

Numbered Lists
Numbered lists are particularly useful if describing phases in a step-by-step process or ranking things in order of priority. To do this, simply:
Find this useful?
Subscribe to our newsletter and get writing tips from our editors straight to your inbox.
- Select where the list should begin
- Go to ‘Paragraph’ in the ‘Home’ tab
- Click on the ‘Numbering’ symbol (use the little arrow to select the numbering style)

- Type the first entry in your list, hitting return to start a new entry

As with bullet points, hitting return twice will end the list. Likewise, clicking on ‘Define New Number Format’ in the menu will let you customise the numbering style.
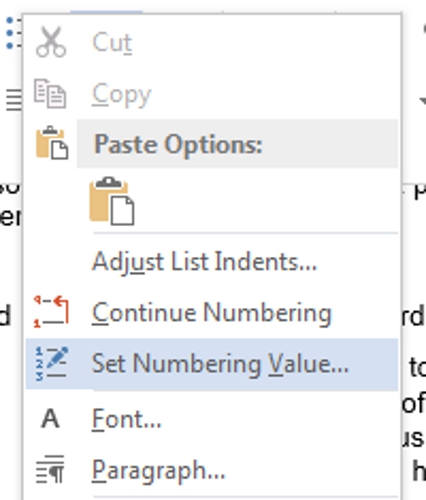
Numbered lists can also be formatted by right clicking on an entry and selecting a command from the menu. This includes adjusting list indents and numbering, which can be very useful if you want to continue a numbered list after a break.

Multilevel Lists
Microsoft Word also allows you to create multilevel bullet points and lists. This is useful if you want to have sub-lists within a main list, like so:


To do this, you need to:
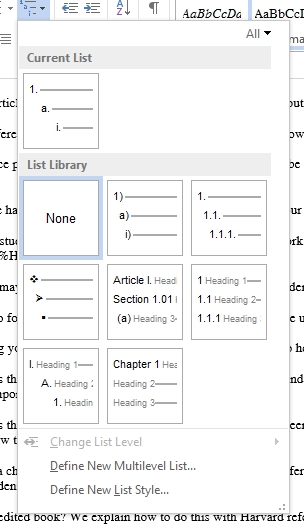
- Select a style from the ‘Multilevel List’ menu in the ‘Paragraph’ section of the ‘Home’ tab
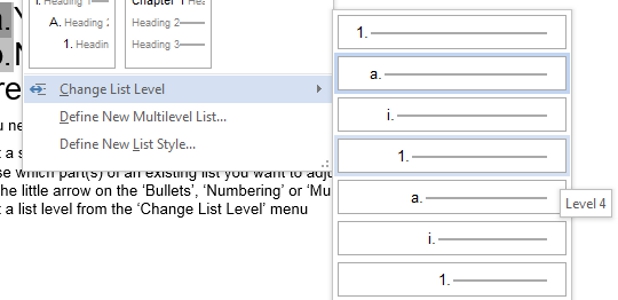
- Choose which part(s) of an existing list you want to adjust
- Click the arrow on the ‘Bullets’, ‘Numbering’ or ‘Multilevel List’ buttons
- Select a list level from the ‘Change List Level’ menu


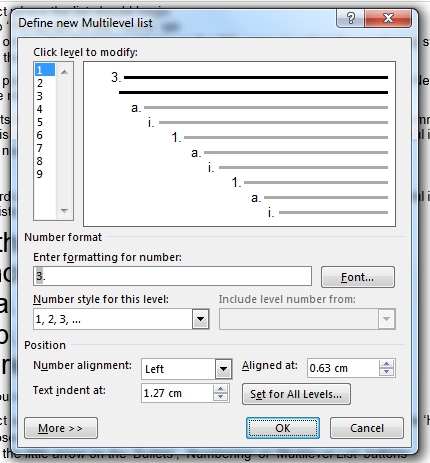
Finally, if none of the default styles appeal, you can also customise multilevel lists by clicking on ‘Define New Multilevel List’ in the ‘Multilevel List’ menu. This opens a new window, where you can create your own list style using a range of options.