


Style is essential to making a strong first impression. Admittedly, this usually applies to fashion rather than formatting. But in the academic realm, you’ll win more points for applying clear and consistent heading styles in a document than for wearing a fancy outfit.
Having said that, dressing like this when meeting your tutor will ensure they remember you. (Photo: Slava Zaitsev)
And since a well-formatted document is vital for clarity as well as grabbing the reader’s attention, today we’re taking a look at how to apply heading styles in Microsoft Word.
Using Headings
The ‘Headings’ styles in Microsoft Word are formatting options for making headings and subheadings stand out from the other text in your essay. This will help your reader, particularly in longer essays, by clearly indicating where different sections begin and end.
Microsoft Word actually comes with a number of default heading styles (named ‘Heading 1’ through to ‘Heading 9’). You can use these as you find them, but you may also need to change them to fit with any specific requirements for headings set out in your style guide.
But how should you use these headings? Like so:
Find this useful?
Subscribe to our newsletter and get writing tips from our editors straight to your inbox.
- Go to the ‘Styles’ section of the ‘Home’ tab on the main ribbon
- Select the text you’re using as a heading and click on the appropriate ‘Heading’ style (e.g. ‘Heading 1’, ‘Heading 2’, etc.)

- If the required style is not visible in the ‘Styles’ tab, click the little arrow in the bottom right to open a side menu with further options
- If the required ‘Style’ still isn’t visible, click ‘Options…’ in the side menu and make sure ‘All styles’ is selected under ‘Select Styles to Show’, then click OK

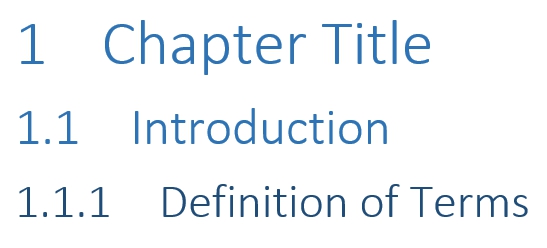
- Once the correct heading styles show in the menu, select the text you want to format and apply each heading and subheading accordinglyBe sure to use different styles to distinguish between different ‘levels’ of heading, since the formatting style of chapter titles should be distinct from those used for section or subsection headings: e.g. use ‘Heading 1’ for the main headings, then ‘Heading 2’ for the next level down, and ‘Heading 3’ for subsections, etc., being careful to apply each style consistently.
Numbered Headings
If you want to use numbered headings, Microsoft Word’s multilevel list options are very useful. This will apply numbering to titles and subtitles whenever a ‘Heading’ style is used, thereby ensuring clear and consistent numbering for all headings in your document.
- Apply different heading styles to your document for each level of heading
- Click on the ‘Multilevel List’ button in the ‘Paragraph’ section of the ‘Home’ tab
- Select one of the list styles that refers to headings
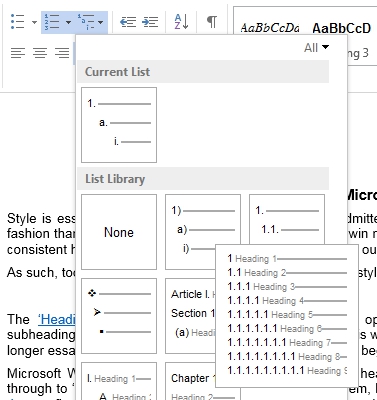
This will apply a different numbering level to each heading style, while you can also modify and create multilevel list styles via the ‘Multilevel List’ menu.
This numbering will also update automatically if you add or remove headings, saving you the effort of re-numbering headings manually.