
-
5-minute read
-
27th August 2025
How to Add Video and Record a PowerPoint Presentation
Clear, engaging presentations are vital for professionals. Whether you need to share a talk with remote colleagues or want to improve your delivery skills, recording and enhancing your PowerPoint can make your message more memorable.
This guide covers how to record a PowerPoint presentation and embed video, plus how to polish your slides for maximum impact.
Why Record a PowerPoint Presentation?
Recording your presentation allows you to share content with colleagues who cannot attend live. You can also use recordings to review your delivery and improve your skills as a presenter.
How To Record a Presentation in PowerPoint
Microsoft PowerPoint includes user-friendly features to record your slideshow with narration and markup. Here’s how to get started.
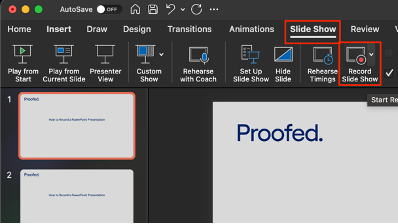
1. Open Your Presentation, and Access the Slide Show Tab
Navigate to the Slide Show tab at the top of your PowerPoint window and select Record Slide Show.
If you use Windows, you can start from the beginning or from the current slide. On Mac, select the slide you want to start with before clicking record.
2. Use the Recording Toolbar
The recording toolbar will then appear at the top of the screen.

You can start and stop the recording, pause, delete, or choose to include video and audio via your camera and microphone.
The exact tools may look different on different operating systems.
3. Record Your Presentation
Once you click start, you’ll get a three-second countdown before the recording begins.
Click Start. There is a short countdown before recording begins.
You’ll see the Presenter View, with speaker notes on one side and markup tools below the slide. Use arrows to move through the slides.
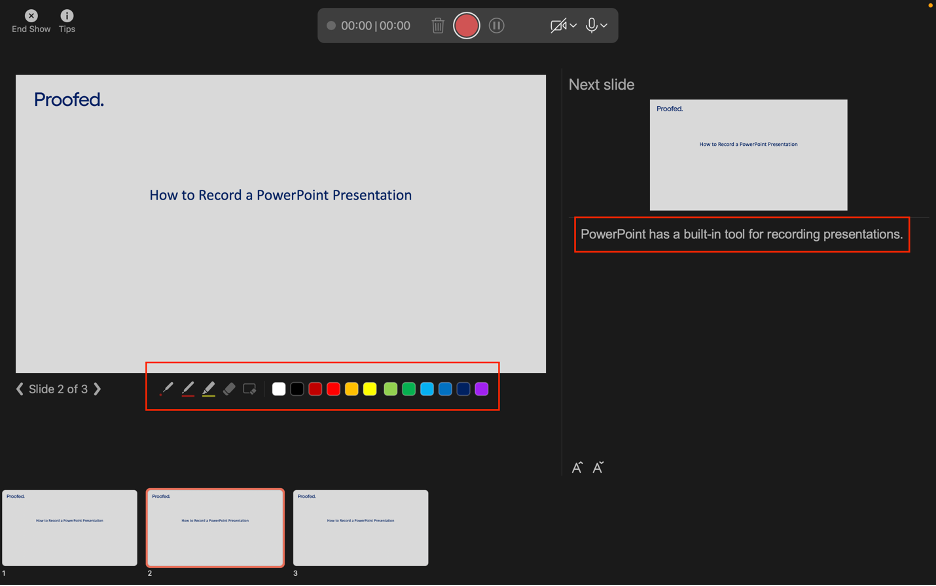
Speak clearly and pause during transitions because narration is not recorded while slides change.
4. Save and Export
Click Stop when finished, then End Show.
Then, go to the File menu to save or export your recording. Choose the format and quality you need.

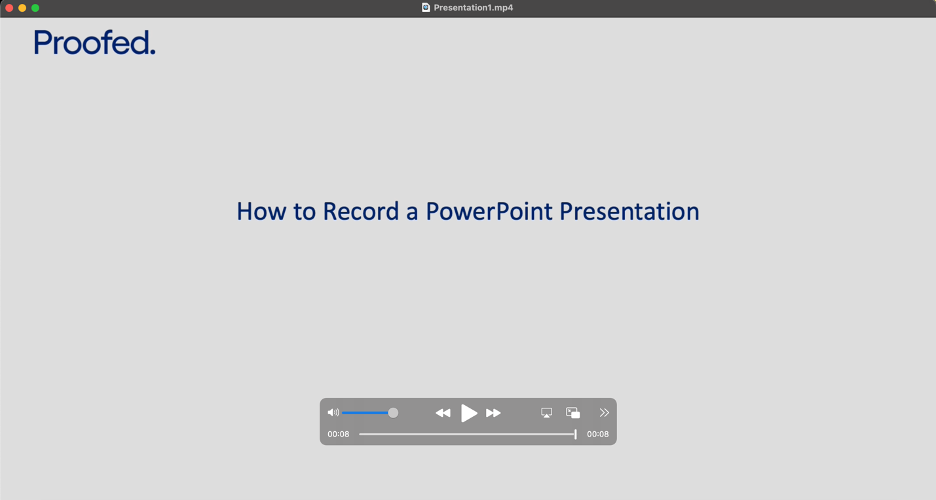
Now you have a complete video of your presentation, including narration and any markup.
5. Review Your Presentation
Watch your recording to check its quality and see how it flows.
Re-record your presentation until it meets your requirements, if necessary.
How to Record a Video With Loom
If you want an alternative to PowerPoint’s built-in tools, try Loom, a web-based screen recorder that also offers a desktop app. Sign up for a free Loom account and download the desktop app to get started.
1. Set Up Loom
Open Loom. Choose your camera and microphone and select whether to record your whole screen or just one app. You can create private speaker notes if needed.
Find this useful?
Subscribe to our newsletter and get writing tips from our editors straight to your inbox.
Subscribe to Beyond the Margins and get your monthly fix of editorial strategy, workflow tips, and real-world examples from content leaders.

2. Record Presentation
Click Start recording. After the countdown, present your PowerPoint as usual.
A recording toolbar will appear on your screen with options to pause, stop, or annotate.

It’s important to note that Loom records everything you see, not just the slideshow.
3. Save and Edit
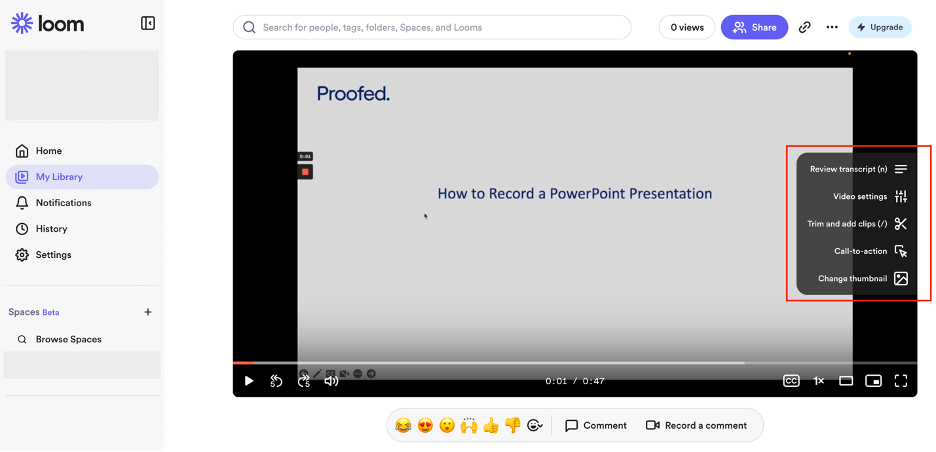
When finished, click Stop. Loom automatically saves your video and redirects you to your library. Here, you can trim the video or make other edits.
4. Download and Share
Next, click on the three dots above the video to either download the recording or copy a link to it, which you can share with anyone you want to send your presentation to.

How To Embed a Video in PowerPoint
Videos make presentations more engaging and can help explain complex ideas.
Here’s how to embed a video, whether it’s a local file or from an online source.
Find Your Video
The location of your video will determine how you embed it in your PowerPoint presentation.
You can use a video from:
- A file saved on your computer
- An online source, such as YouTube, in which case you’ll need to copy its URL
How To Embed a Video From Your Computer
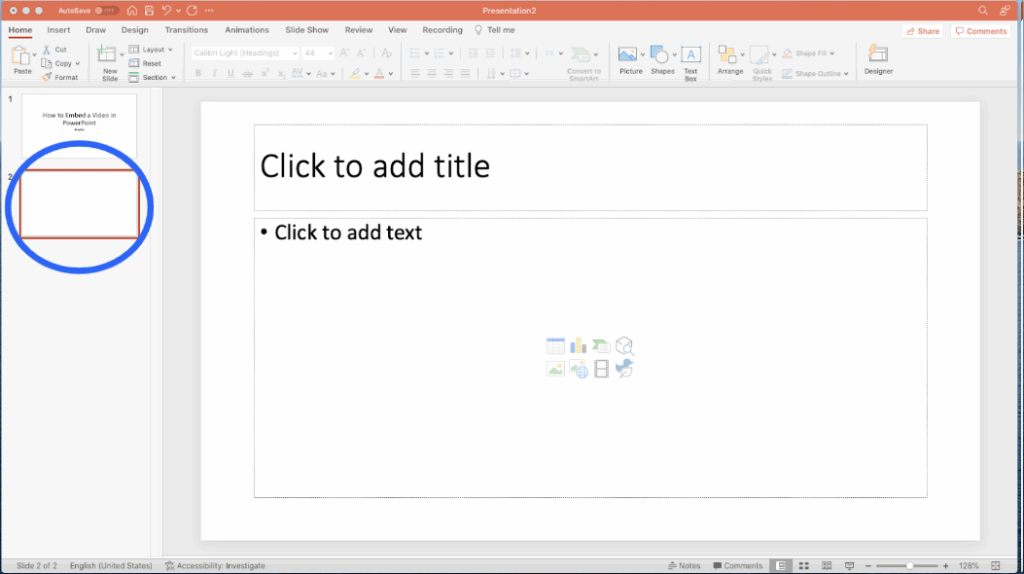
First, select the slide where you want the video.
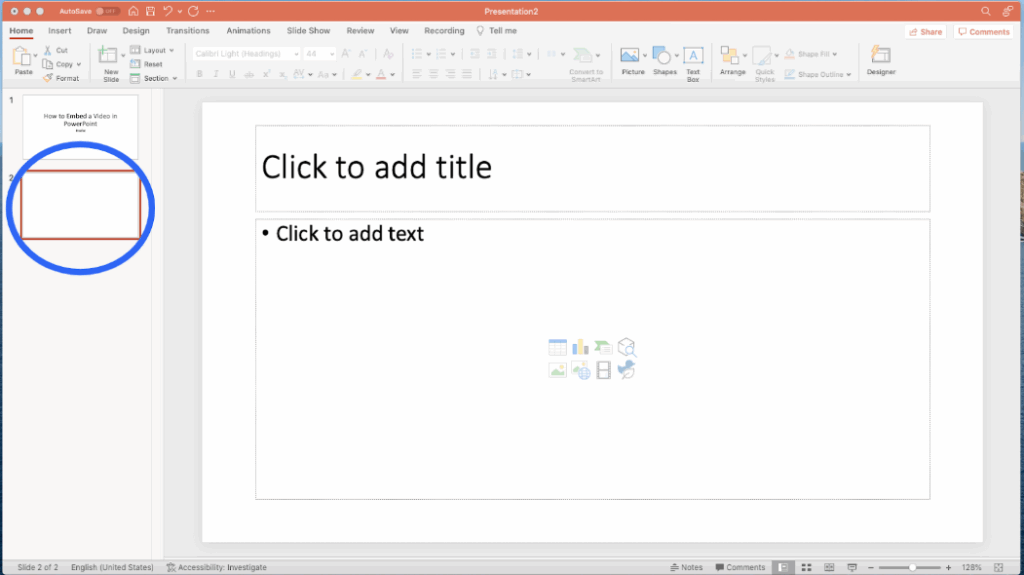
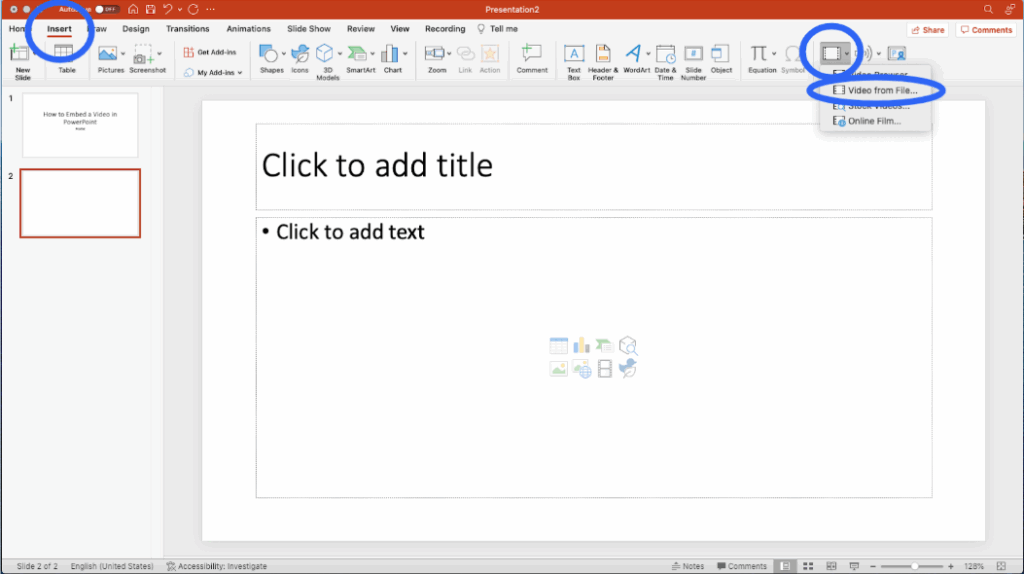
Next, click the Insert Video icon from the middle of the slide, or go to Insert > Media > Video from the File menu.
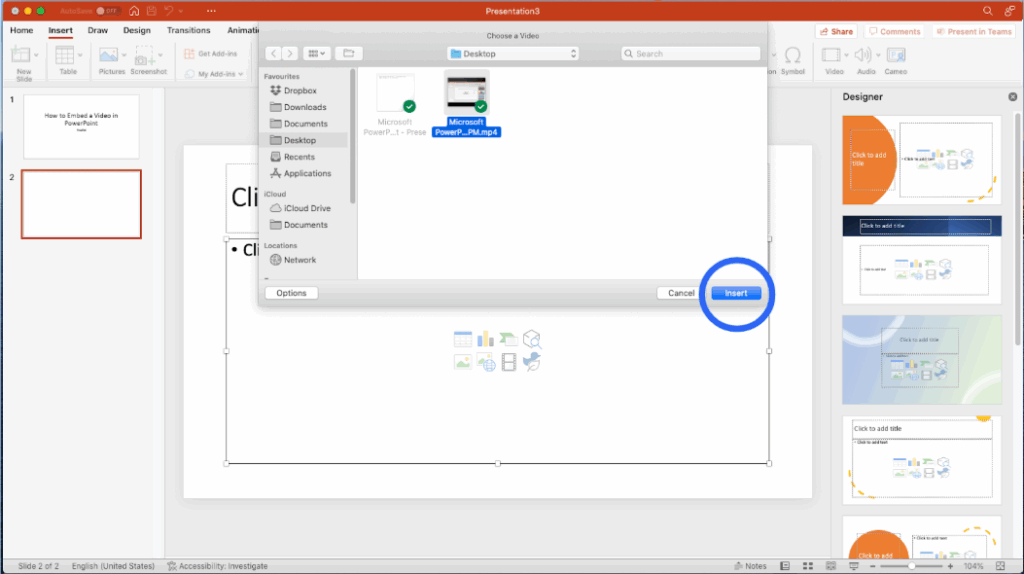
Locate your file, and click Insert. Your video appears on the slide, and you can resize and reposition it as needed.
How To Embed a Video From an Online Source
First, choose the slide where you want to insert your video.
On the Insert tab, click the arrow next to Video, and select Online Film.
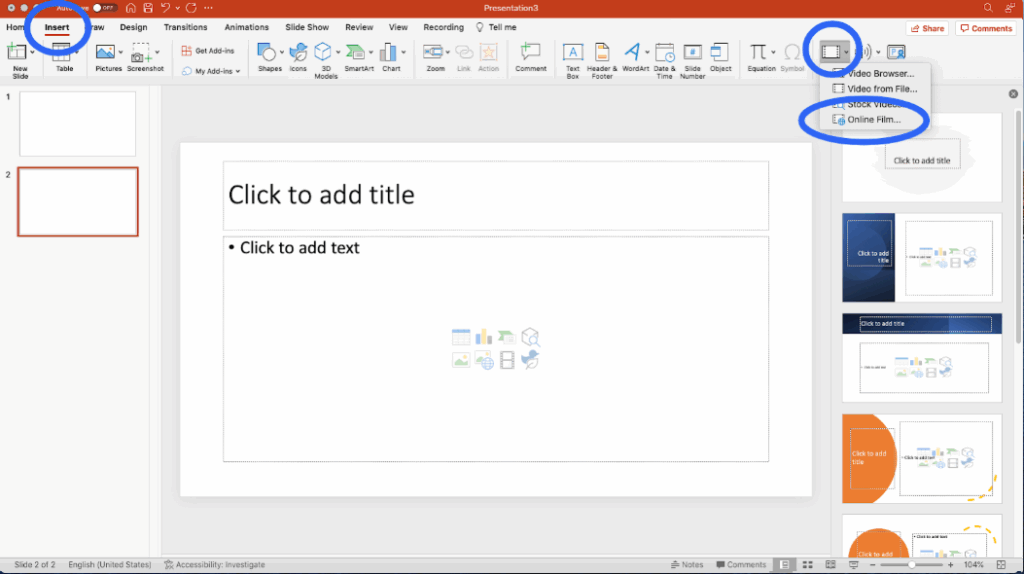
Paste the video URL, and click Insert. The video appears on your slide and can be adjusted for size and position.
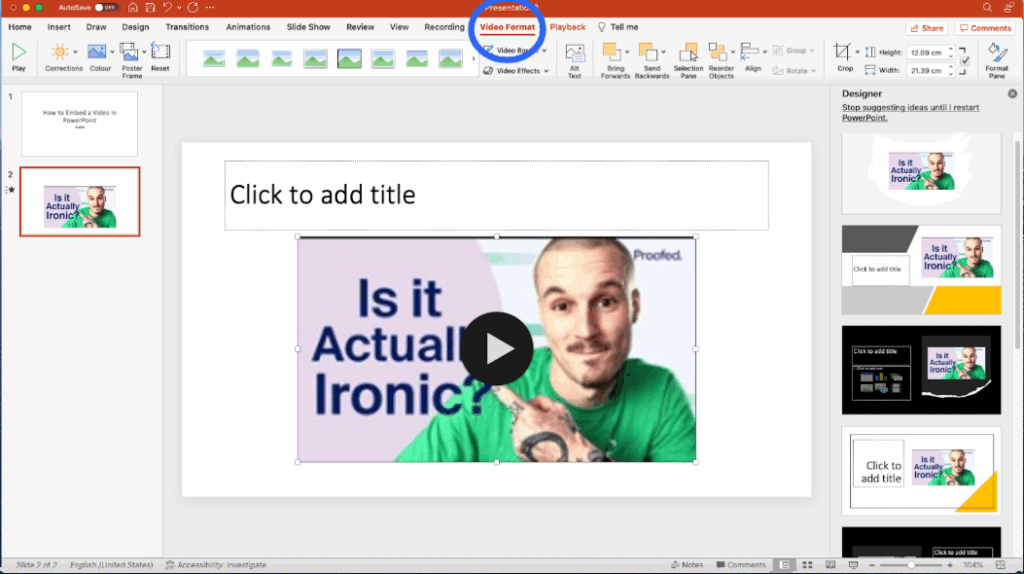
Formatting and Playback
Whether you inserted or embedded your video into your presentation, you can use the Video Format tab to adjust how your video appears. You can add text and play around with how the video appears on screen.
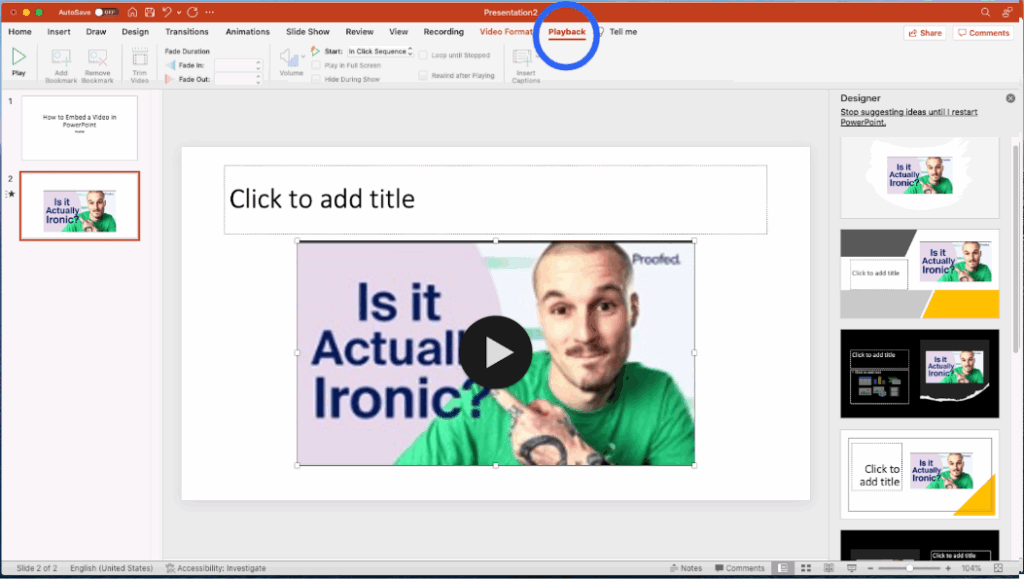
The Playback tab offers options to control how and when the video plays during your presentation.
And, of course, don’t forget to save your presentation: Just click File, then either Save or Save As, and choose a location and file name.
How To Make Your Presentation Stand Out
To make your presentation stand out, always check for spelling and grammar mistakes. Proofreading your slides will help your message come across clearly. Our PowerPoint proofreading services are available 24/7 to perfect your presentation. Submit your presentation online today.